Now that we have the Rover up and running, it’s time to actually interact with it. There are a few things we need to do in preparation for accessing the console and working with the rover to build out a solution.
First, I recommend that you review the official instructions provided by Oracle. This blog is not going to be an exhaustive guide to setup, rather it is my experience with the setup and how I even overcame a couple of challenges I hit thanks to my laptop.
Before getting started with connecting to the rover, you need to get through your initial setup. I’ve created a blog about my experience doing that, which you can find at https://blog.ocitools.com/2023/07/11/first-setup-of-roving-edge-ultra/.
Once you get through that initial setup and your rover is fully up and running, you can start the process to get connected. The first step in this connection process is get the official name of the rover as found in the certificate. Using a linux terminal I executed the following command.

Notice that the IP address (192.168.8.5) needs to be updated as the IP address you gave the rover on your network when you first got the rover up and running.
When I ran this command, it provided me with “rover_ultra-red-1” as the hostname. That’s the name of the rover as it will appear in the certificate from the console. This is valuable, because you want your laptop, server, etc. to recognize the association of that hostname with the rover IP (192.168.8.5 in my case). To do this, I opened up the /etc/hosts file on my machine and updated it with the last row:
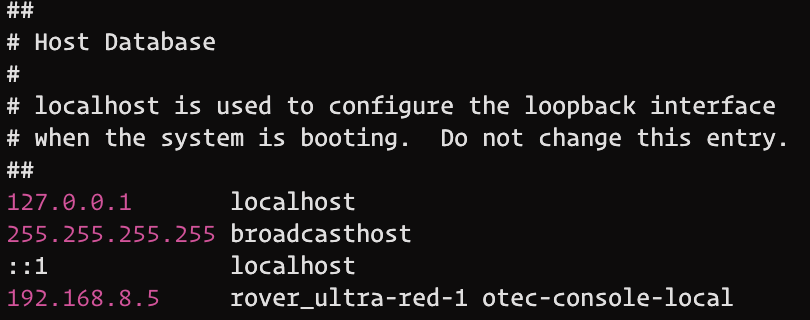
You’ll notice in my hosts file, I also associated otec-console-local with that IP address. In some cases, I personally use that hostname in addition to rover_ultra-red-1. This isn’t necessary for your initial setup, but worth noting.
Now that we have the hostname mapped, it’s time to download the certificate so that your machine recognizes the cert passed from the rover as valid. You do this by executing the command below to save the cert to your machine.
echo -n | openssl s_client -showcerts -connect ip_address:8015 | sed -ne '/-BEGIN CERTIFICATE-/,/-END CERTIFICATE-/p' > redroot.pem You can see below that I saved mine to the /tmp directory.

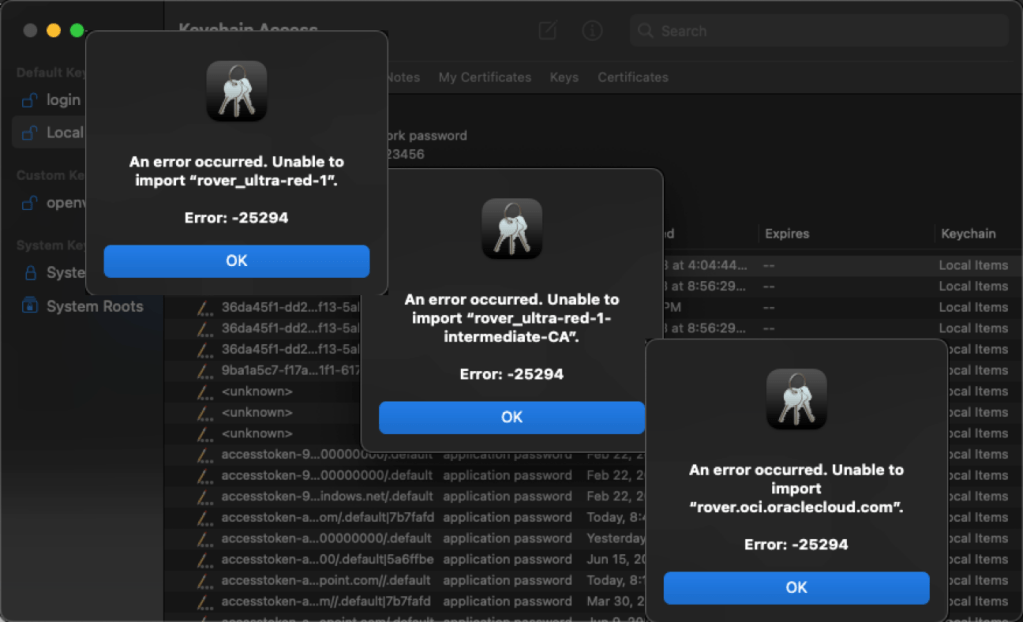
The next step is to adopt this certificate into your machine/browser. I use a Mac, so I just double clicked on the file to open it with my keychain app. Here’s where things went sideways for me. I got a series of errors adopting the certificate:
I tried to adopt it in a variety of ways, but nothing seemed to work for me. I chose to just move forward at this point and see how things transpired before opening a ticket or contacting my friends in product management. In the end, it all worked just fine for me. I simply had to accept Chrome’s warning that the session might not be private.

In the end, I’m not doing anything that would make me nervous about this. I’m not dealing with PII, PHI, etc. and I’m on a closed network, so I decided to just move forward with this warning.
Once I got through that, I was able to get to my console by going to https://rover_ultra-red-1:8015.
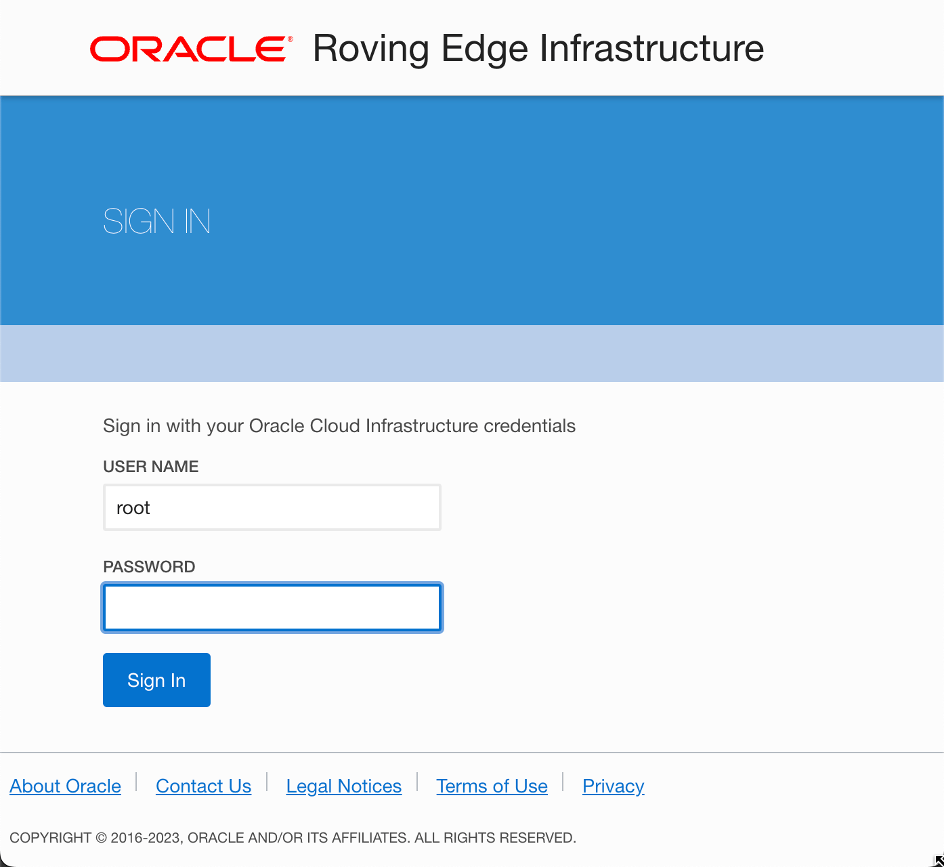
From here, I logged in as root using the password I had setup when ordering the rover. If you forgot what you set your initial password to, you can go to the rover in your OCI tenancy and find it for that particular node:
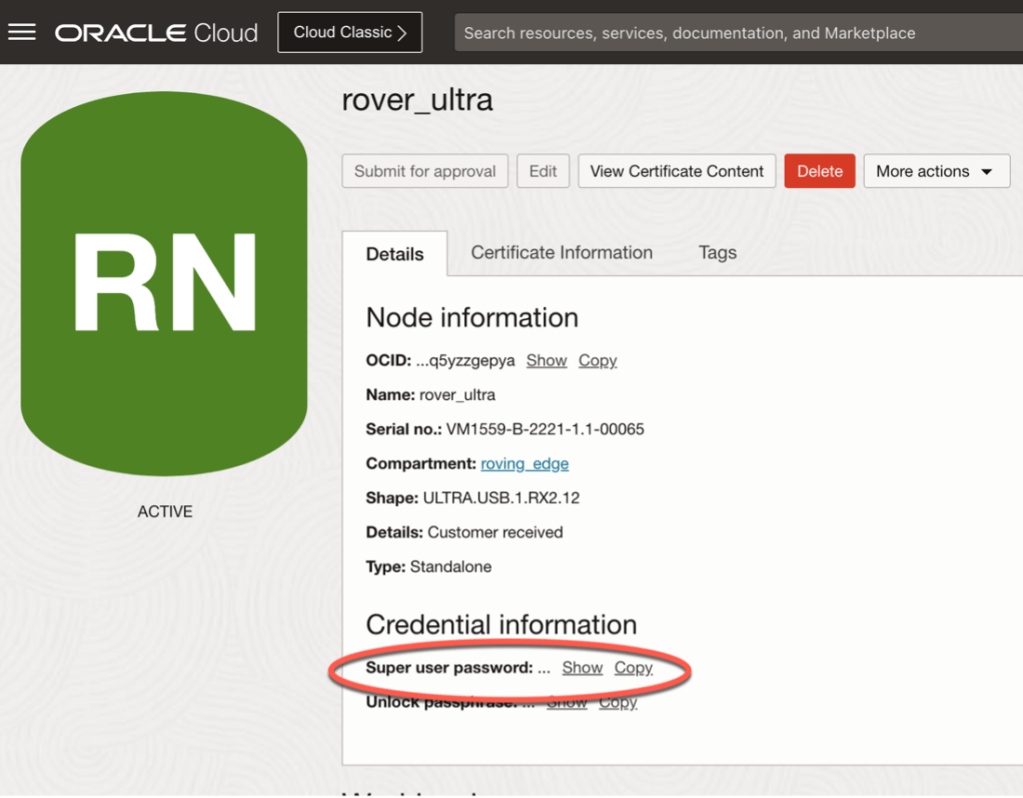
After the first time you sign in, you’ll be required to change the password, so make sure you lock that away in a vault.
Once you get through these steps you’re ready to start deploying resources to the rover. It takes a little time to review and understand the documentation on the first pass, but once you’ve got it nailed down, it becomes as straightforward as using OCI.
