My team and I just recently got our hands on the Roving Edge Ultra. I recently posted a blog for the unboxing that you can watch. The next step is getting it setup. In this post, I’ll take you through the steps taken to get the box operational. Keep in mind that the setup shown here is the same setup you need to do for any single node deployment of a Roving Edge (Ultra or otherwise).
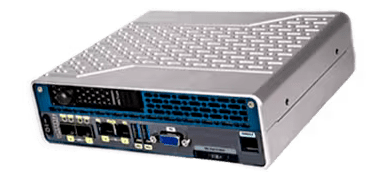
The very first thing to do is, of course, plug in and power up the device. You’ll notice the Ultra isn’t exactly silent, but it is definitely quieter than the full-size Roving Edge. That’s simply because this device doesn’t have to cool GPUs, while the large device does.
Once powered on, you can plug in the console-USB cable provided to connect directly to the Rover from your laptop to unlock and start the initial configuration process. Here you’ll want to use your favorite terminal that can handle a serial connection. I chose to use a product I like called Termius, but there are a variety of options like PuTTY. Oracle provides the necessary settings in the documentation found at: https://docs.public.oneportal.content.oci.oraclecloud.com/en-us/iaas/Content/Rover/Getting_Started/setting_up_devices.htm#SetupTerminalEmulation.
Once I logged in I found the screen to be going through the normal linux server startup process. If you’ve ever watched a linux server boot, you’ll spend some amount of time just watching white text scroll across your terminal as services start.
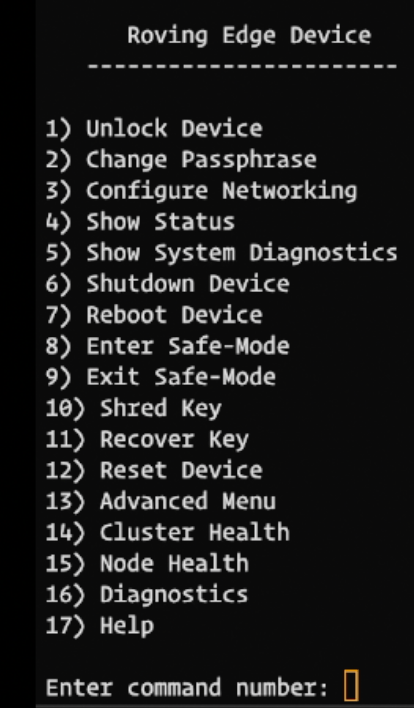
For the Ultra I noticed it took about 3 minutes and 30 seconds for this process to complete. At that time I was met with a menu of options.
This Next Part is SUPER IMPORTANT
The very first thing you need to do is consider if you want to define the logical volume management for your block and object storage. This must be done BEFORE you unlock the device for the first time. After you unlock the device, there is no changing this configuration. In the end, you really have three options here:
- Do nothing: This simply just uses the disks as they are in the device. There is no striping or redundancy
- Enable High Performance LVM: This stripes data across disks for higher IO at the cost of any redundancy
- Enable Data Protection LVM: This uses 3-way mirroring to protect your data in the event of a disk failure
In the end, I chose option 1 because the work we are doing is purely development and proof of concept work. In the real world, you likely want to choose between #2 and #3 depending on what’s most important you. You can read a bit more here: https://docs.public.oneportal.content.oci.oraclecloud.com/en-us/iaas/Content/Rover/Getting_Started/setting_up_devices.htm#lvm-managment
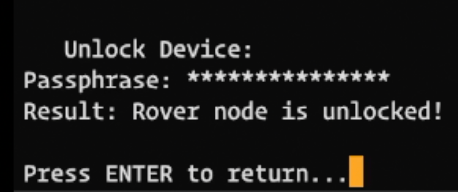
After you’ve made your adjustments to the storage management, the next step is to unlock the device. When you unlock the device, you’ll need to use the passphrase that you setup in OCI upon requesting the Ultra. You can find this by navigating through the OCI console to Hybrid > Roving Edge Infrastructure > Nodes. From there, click on the Roving Edge node that you are accessing and you’ll find the passphrase is available to copy or view.

When you choose option 1 from the main menu, you’ll be asked for the passphrase you just found in the OCI console. You may be asked to change the passphrase. You will need to be sure to capture the passphrase and store it in a secure vault. If you lose that passphrase, there’s no way to recover it, other than a full device reset which wipes your entire device back to where it started when it left Oracle.
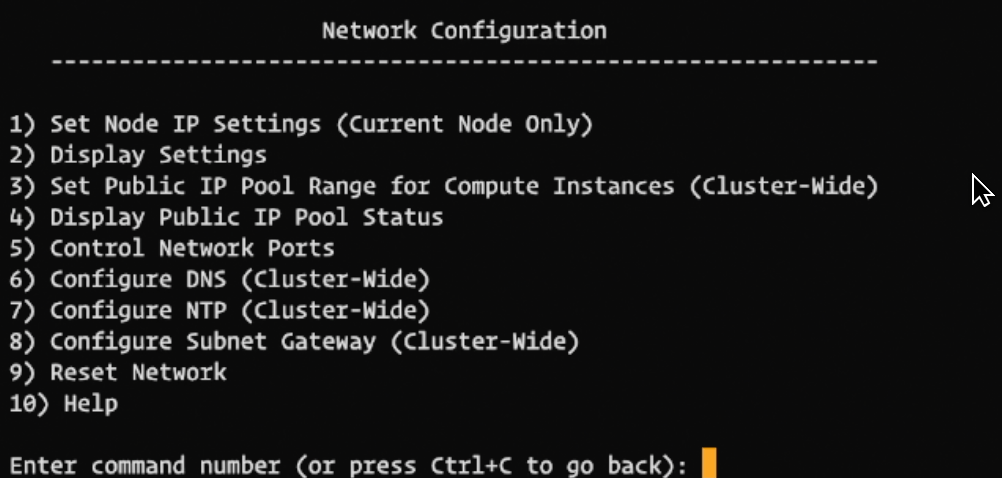
Once the device is unlocked, you will need to do some initial network setup to get it usable. The first stop is option #3 in the main menu, “Configure Networking”. For the purpose of this configuration, I’ll be setting up a single node, so the cluster configuration isn’t going play a role. From here, you’ll start by defining the IP settings of the node (option #1 of the Network Configuration menu).
To configure the device, you’re going to need to provide the basic information about your defined subnet or VLAN. You will need to know the IP address that is going to be assigned to the Rover, as well as the IP address of the gateway and the subnet mask. In the screenshot below, you can see that it was initially setup with a 10.0.0.2 address, but that doesn’t match my network. So you can also see that I changed the IP Address, Subnet Mask Length, and Gateway IP. Once that was complete, I was provided the confirmation message that network port enp7s0 is enabled. I was also notified that there appeared to be no network cable provided for that port. Frankly, that’s true. I didn’t plug it into the network yet.

Now here’s the weird part. There are two network ports, but only one can be active at a time. If you try to configure the other network port, it will disable the original network port. To me that seemed a little strange because wouldn’t it be great to have redundant NICs?
After the configuration for the Node networking is complete, we need to define the public IP pool. This is going to be the range or set of IP addresses that are reserved on your network for virtual servers on the Rover that need to be accessed from the outside. They are technically public IPs because they are public to the Rover, but they aren’t necessarily truly public to the world.
In my network, I isolated IP addresses from 192.168.1.100 – 192.168.1.200 for use by the Rover. In the screenshot below, you can see that you have the ability to get really creative in how you allocate these addresses. They can be ranges or individual addresses.
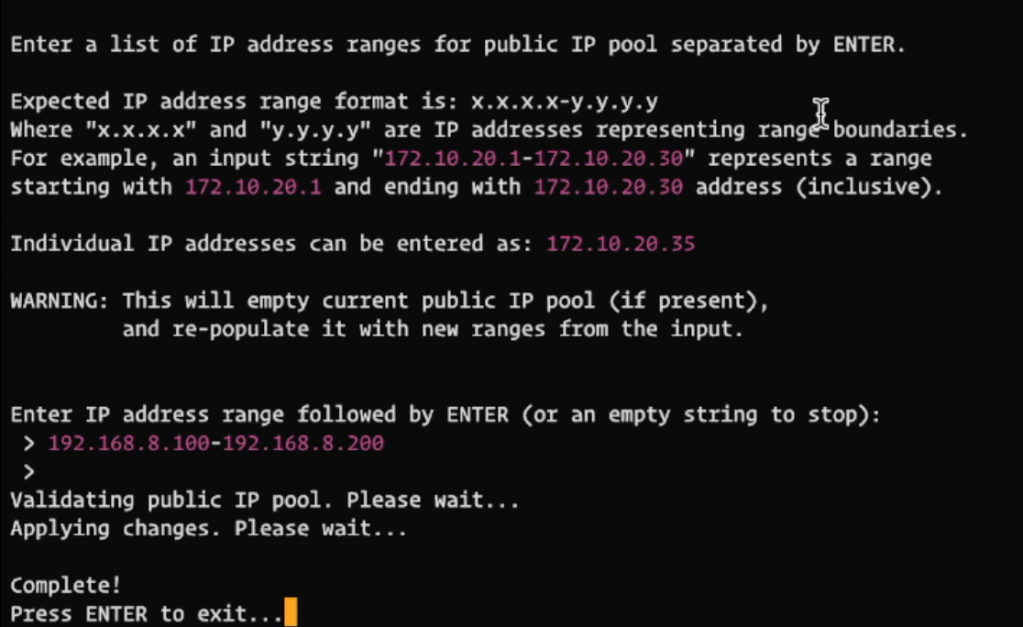
Once I setup the public pool and hit enter, it took roughly 4 minutes for the network changes to apply. So if you think it’s running too long and get nervous, just give it a little extra time and it will probably be just fine.
From here, I had all of the primary configuration I needed to adjust complete, so I returned to the main menu of the Rover and decided to look at some of the various options. If you choose option #5 (Diagnostics) be prepared for a crazy dump of information that will scroll down your screen for a bit of time. For general information, I found #4 to be the most enlightening. When I pulled up the Status, I was presented with the screen below.
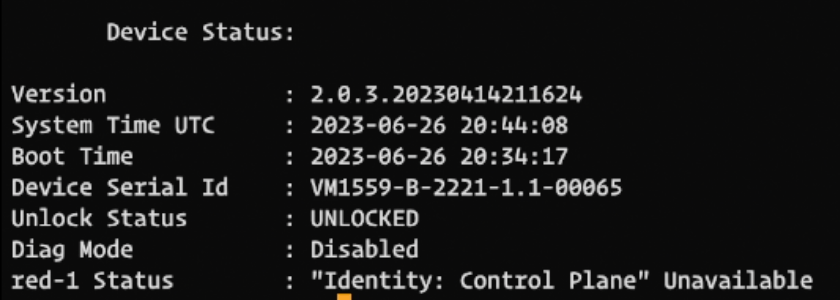
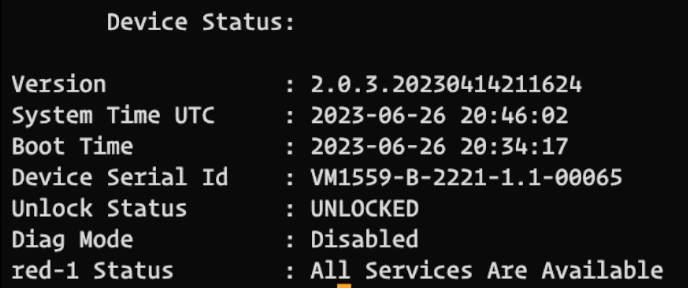
You’ll notice that after completing my configuration, the status was still showing that the Identity Control Plane was still Unavailable. This was after about 10 minutes of elapsed time from the power switching on until this point (it took me about that long to get through the configuration). I noticed that after about 2 more minutes (so 12 minutes altogether), the Status menu indicated that All Services were available.
From here, I hopped on the network to confirm that the Rover was indeed attached to the network on 192.168.1.5, which you can see below was confirmed.

In Summary
The basic configuration process I found to be quite intuitive and the documentation (https://docs.public.oneportal.content.oci.oraclecloud.com/en-us/iaas/Content/Rover/Getting_Started/setting_up_devices.htm) helped. What was even more helpful is that I was prepared with my on-prem network configuration and I knew what to set for my storage configuration. Here’s the list of what you need to have ready to go upon start up:
- Storage Configuration – You need to determine if speed or redundancy is most valuable to you. Do you want striping of disks or mirroring? You only get one chance to make that selection and after that it’s not possible without a full device reset.
- Network Information
- Rover’s static IP address
- Gateway IP for the RoverSubnet Mask Length where the Rover will reside
- List of IP addresses in that same subnet that are allocated for use by the Rover for public IPs
If you can check the box on all 5 of these items, you’ll be able to get your device up and running without trouble.
